3D Printing Guide
3D Printing Your WeighMyBru Case
Welcome to the complete guide for 3D printing your WeighMyBru coffee scale case! This guide covers everything from downloading the STL files to post-processing your finished prints.
📝 Before You Start: Ensure you have access to a 3D printer and basic knowledge of slicing software. The WeighMyBru case is designed to print with supports on FDM printers, but it may be possible to print without supports if you have decent amounts of cooling.
📁 Download Files
🔗 Download Link: WeighMyBru 3MF Files
⚠️ Warning ⚠️
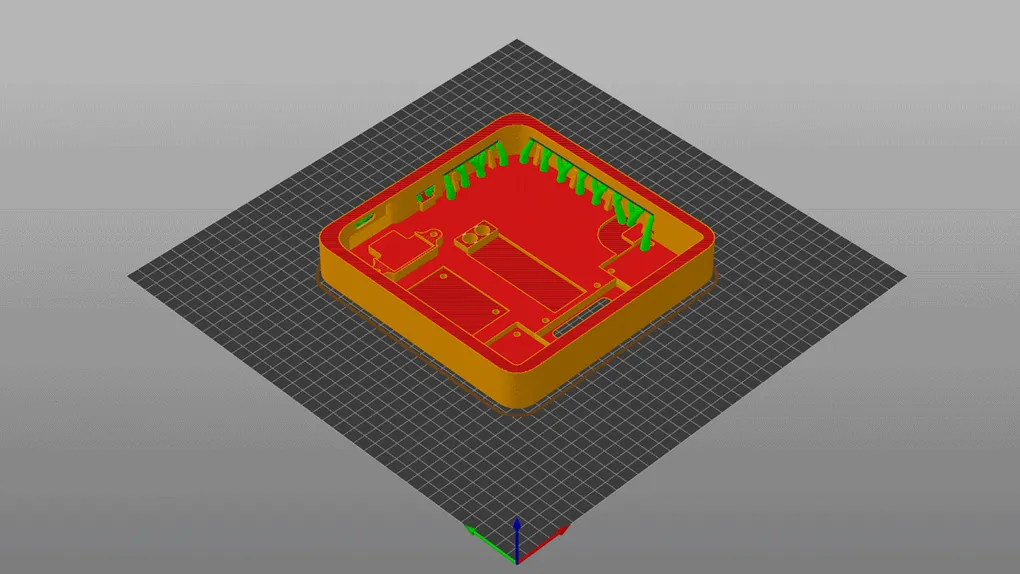
There is a know issue with some of the touch pads not sensing through the 3D printed housing. In some cases, removing the capacitor labelled C1 is sufficient, and in other cases it may be necessary to print the housing with a 0.8mm thickness. The 0.8mm thick housing has 3D printed clamps to hold the touch pads in place, because if you use screws they will protrude through the top of the housing due to its reduced thickness.
3MF Files Available
| Part | SeeedStudio XAIO ESP32-S3 | ESP32-S3 Supermini | Quantity |
|---|---|---|---|
| WeighMyBru² - Top | ✅ | ✅ | 1 |
| WeighMyBru² - Bottom | ✅ | ✅ | 1 |
| WeighMyBru² - Screen Clamp | ✅ | ✅ | 1 |
| WeighMyBru² - M2 Washer | ✅ | ✅ | 4 |
| WeighMyBru² - ESP32 Clamp | ❌ | ✅ | 1 |
| WeighMyBru² - XAIO Clamp | ✅ | ❌ | 1 |
| WeighMyBru² - Top (0.8mm) | ☑️ | ☑️ | 1 |
| WeighMyBru² - Touch Clamp | ☑️ | ☑️ | 2 |
✅ - Required
❌ - Not Required
☑️ - Optional (If touch pads don’t sense)
🖨️ Recommended Print Settings
Printer Requirements
- Build Volume: Minimum 150mm x 150mm x 30mm
- Layer Height: 0.2mm (recommended)
- Nozzle: 0.4mm standard
Filament Recommendations
| Filament Type | Comments | Tested |
|---|---|---|
| PLA | Easy to print, haven’t experienced any heat deforming issues | ✅ |
| ABS | Very durable, recommended. Be careful to ensure the top doesn’t warp | ✅ |
| PETG | Would most likely be a viable option. Not yet tested | ❌ |
💡 Recommendation: ABS for its heat resistance and durablilty.
Slicer Settings
Layer Height: 0.2mm
Infill: 30%
Wall Thickness: 4 perimeters
Top/Bottom Layers: 5
Print Speed: 50-60mm/s (Or whatever your printer can handle)
Support: Yes (Tree/Organic)
Adhesion: Brim (5-8mm recommended, if your printer has adhesion issues)
🎯 Print Orientation & Tips
Base Case Orientation
- Position: Upright with opening facing up
- Supports: None needed
- Notes: This orientation ensures smooth surfaces for component mounting
Top Plate Orientation
- Position: Face down (buttons facing build plate)
- Supports: None needed
- Notes: Provides clean button surfaces and overhangs print properly
Print Quality Tips
- Clean Build Surface: Ensure your build plate is clean and properly leveled
- First Layer: Take extra care with first layer adhesion - use brim if needed
- Temperature: Start with manufacturer recommended temperatures
- Cooling: Enable part cooling fan for overhangs and bridges
🔧 Post-Processing
Required Steps
-
Remove Support Material
- Carefully remove any brim or skirt material
- Use flush cutters for clean removal
-
Test Fit Components
- Dry fit your electronics before final assembly
- Check button alignment and movement
-
Hole Cleanup
- Remove and excess over-extruded material from the holes.
- Stanley or X-acto Knife
- Side Cutters
- Remove and excess over-extruded material from the holes.
Optional Finishing
Sanding: Light sanding with 220-400 grit for smoother finish Painting: Prime with plastic primer, then apply your choice of paint Acetone Smoothing: For ABS prints only - provides glass-like finish
⚠️ Common Issues & Solutions
Warping/Lifting
- Cause: Poor bed adhesion or temperature issues
- Solution: Use brim, increase bed temperature, check for drafts
Layer Separation
- Cause: Incorrect temperature or cooling settings
- Solution: Increase hotend temperature, reduce cooling fan speed
Stringing
- Cause: Retraction settings or temperature too high
- Solution: Increase retraction distance, lower temperature slightly
Poor Surface Quality
- Cause: Print speed too fast or incorrect layer height
- Solution: Reduce speed to 30-40mm/s, verify layer height calibration
🎛️ Assembly Integration
Once your case is printed and post-processed:
- Follow the Assembly Guide for complete build instructions
- Install heat-set inserts using a soldering iron (M3x5x4 inserts)
- Mount electronics according to the wiring diagrams
- Calibrate your scale using the Calibration Guide
📸 Share Your Build!
We love seeing community builds! Share your finished WeighMyBru scale:
- Tag us on social media: @weighmybru (Coming soon)
- Join our community: WeighMyBru Discord
🏆 Pro Tip: Consider printing in coffee-themed colors like brown, cream, or espresso black for the perfect aesthetic match!
🔗 Next Steps
- Assembly Guide - Put it all together
- Flashing Guide - Install firmware
- Calibration Guide - Get accurate readings
Happy printing! ☕️